Turning a 3D Printer Into a Wood Engraver Involves Burning Things with the Nozzle


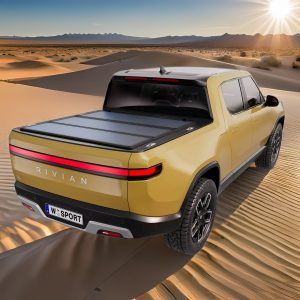
Arseniy of Arseniy’s Lab owns a Bambu Lab A1, a low-cost 3D printer that can print layers of plastic filament, and one day, while working on a plywood dancing pad, he ran into an unexpected problem. He wanted arrows on the surface, but paint was a mess, and stencils were too tough to work with. What if he could use the printer’s hot nozzle to burn marks in the wood instead?
First, he had to clear the nozzle by unloading any filament that was in the way. A good cleaning of the nozzle itself was also in order, to get rid of any leftover residue. He then cranked up the heat to around 300 degrees Celsius and lowered the nozzle down onto a scrap piece of plywood. His first attempts at this resulted in dents rather than burn marks, so he began adjusting the Z-height, lowering it in tiny increments of around 1.7 millimeters below the surface until he achieved the desired burn spots. When the nozzle made contact with the wood, it scorched it just enough to create a visible mark.
Sale

ELEGOO Centauri Carbon 3D Printer, CoreXY 500mm/s High Speed Printing with Auto Calibration, 320°C…
- Print Right Out of the Box: ELEGOO Centauri Carbon arrives fully assembled and pre-calibrated, ready to go right away. With auto bed leveling,…
- Built for High-Speed Printing: Unlock ultra-fast printing with it’s advanced CoreXY structure, achieving up to 500 mm/s print speeds and 20000…
- High-Performance Material Ready: Equipped with a 320°C brass-hardened steel nozzle and enclosed chamber with enhanced cooling, Centauri Carbon is…
Basic testing with manual control were fine, but intricate patterns made things more complicated. So Arseniy went to G-code, the language that tells a 3D printer where to go. He asked an AI assistant to create some simple scripts for laying down grids of dots, and while the results were consistent, it found out that keeping the wood firm was a bit difficult.
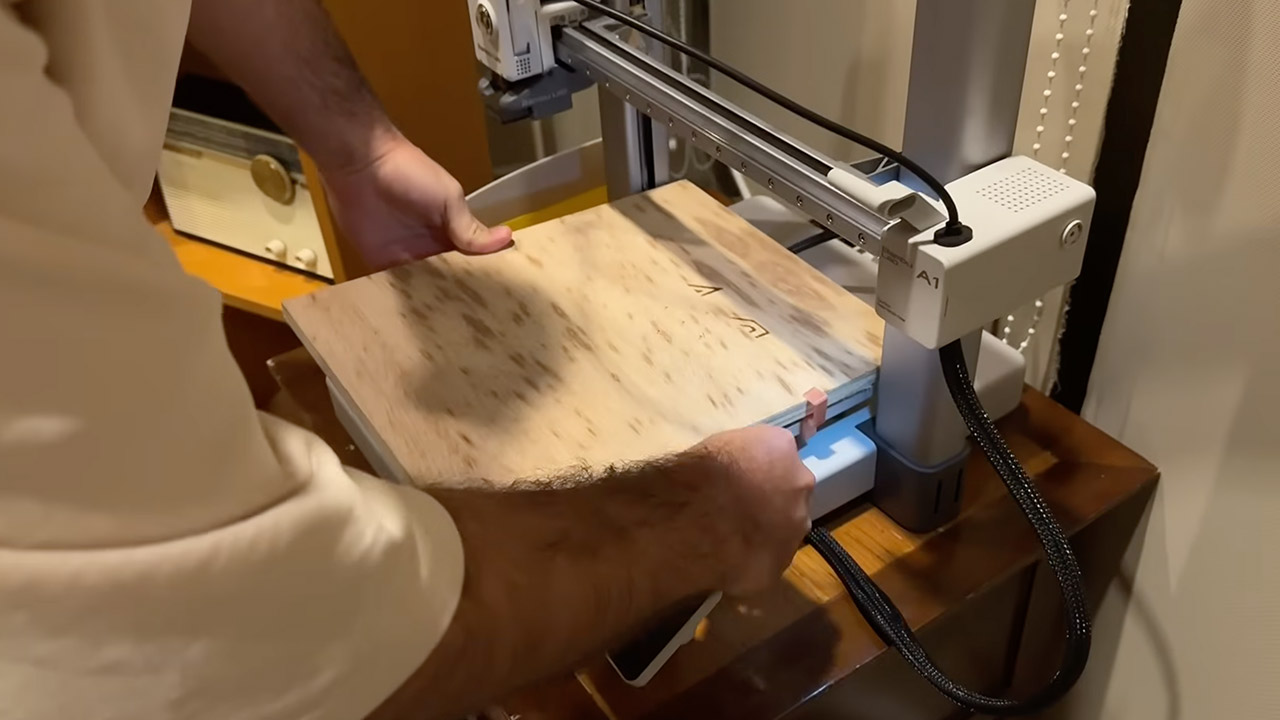
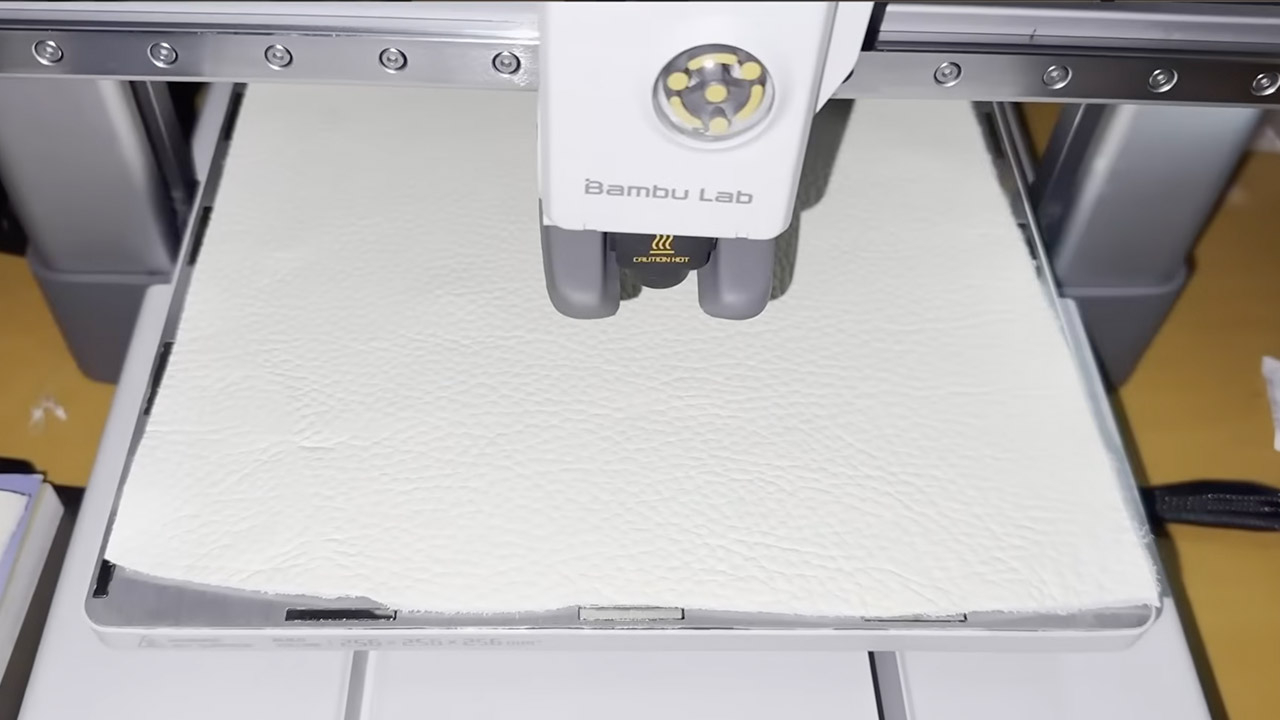
The next step was to create some custom brackets to grip the edges of the plywood and hold it firmly in place where the construction plate normally sat. That helped slightly, but on larger parts, the printer still shifted around. It wasn’t until he inserted a glossy magazine page underneath that he found a solution: the slick surface prevented the wood from clinging to the bed, and the printer’s bed leveling procedure took care of any unevenness. That’s where bed leveling came in, because without the metal plate, the printer’s sensors were probing the wood directly, so Arseniy made sure to activate it before each operation to obtain a good read on the nozzle height.
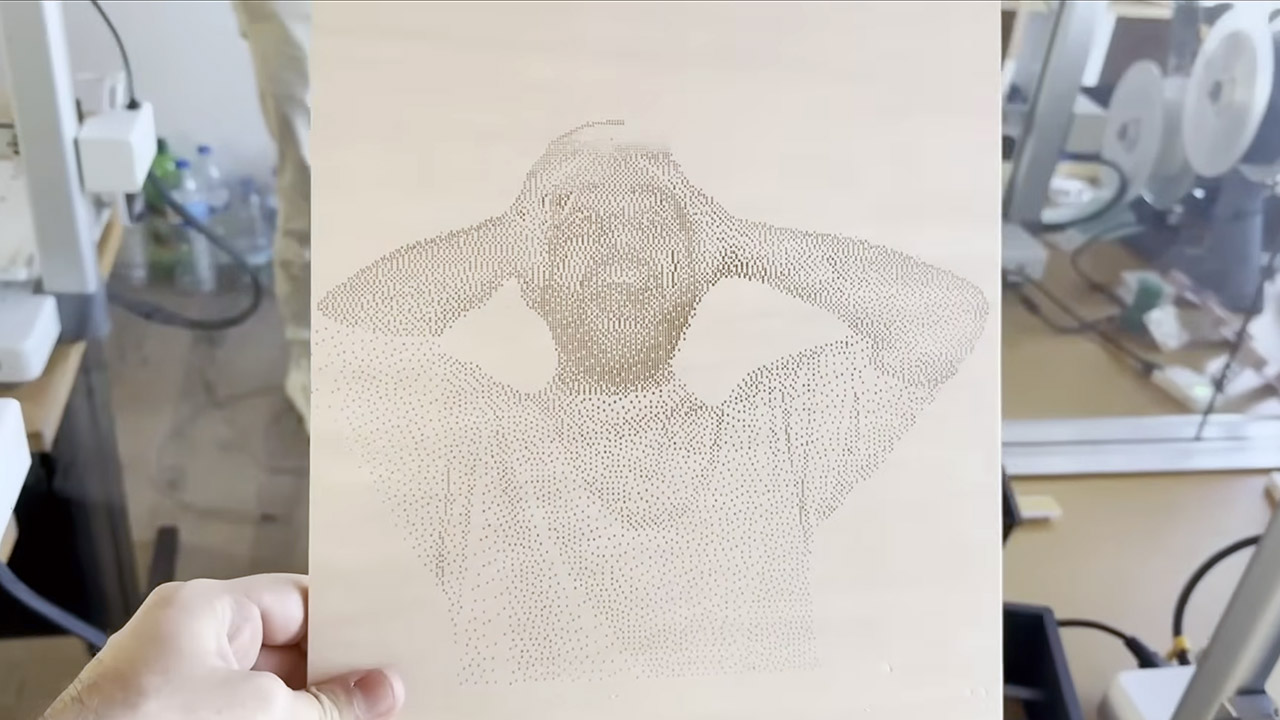
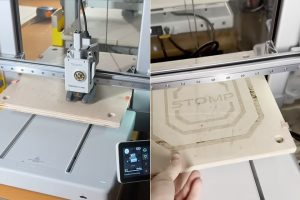
Then there was the matter of taking a photo and converting it into printing directions, which required a little more care. The simple programs he’d written produced rather crude dots, so Arseniy created a free web tool to handle the conversion process. Anyone can now upload a photo here and the web app will automatically generate printer-ready instructions. There are options for dithering to achieve different shades of grey or using contour mode to create precise outlines. To fine-tune the settings, use the test grid to alter the dwell time for darker marks or contact depth for bolder lines.
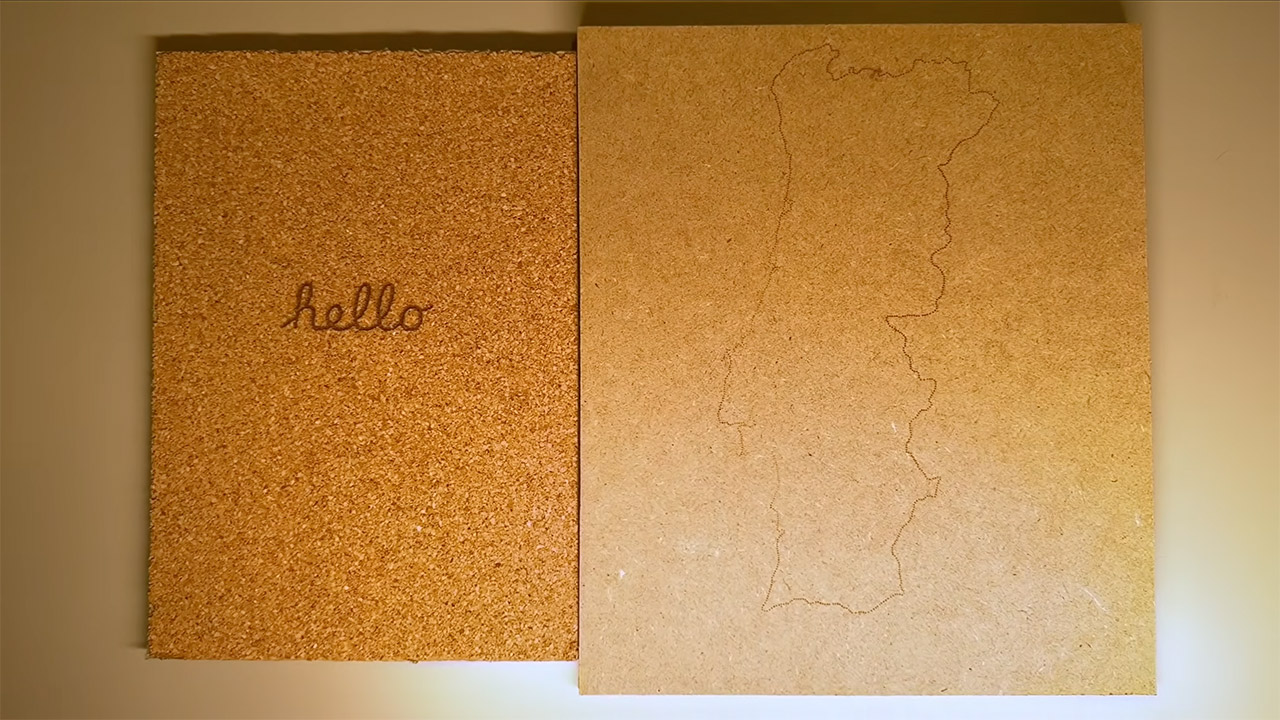
Materials reacted differently to the heat, with plywood producing the kind of consistent, even burns you’d expect. Pine, on the other hand, revealed its natural grain patterns when exposed to heat. MDF may appear rough, but it picked up scorch marks relatively smoothly. Leather turned out to be a very pleasant surprise, with some deep, professional-looking etches that looked fantastic. Cork and laminated boards were equally prepared to accept drawings, however there would be some fading where the surfaces were a little uneven.
Fortunately, there was no need to mess around with the printer hardware because the nozzle was left stock, with no fancy add-ons. Cost? Nothing more than what was already in the machine and some scrap wood on hand. To be honest, the results were quite good, rivaling some entry-level laser engravers in terms of detail but without the high cost or safety issues associated with a large beam of light.
[Source]
Turning a 3D Printer Into a Wood Engraver Involves Burning Things with the Nozzle
#Turning #Printer #Wood #Engraver #Involves #Burning #Nozzle